
Mattermost is an open-source, self-hosted online chat service, with the ability to support both direct messaging and group chats. Its primary function is to offer teams a way to communicate and collaborate in a unified workspace. Modeled to compete with the likes of Slack and Microsoft Teams, Mattermost aims to provide similar functionality while giving users complete control over their data and privacy.
Launched in 2015 by Mattermost Inc., the platform was designed to be extensible and customizable to suit various user needs. One of its strengths lies in the ability to integrate with other popular developer tools such as Jira, Jenkins, GitLab, and many more. This integration capability allows teams to streamline their workflows and improve overall productivity. Mattermost is available in two versions. The Team Edition is the open-source version that includes core features and functionalities. On the other hand, the Enterprise Edition, a commercial version, provides additional features such as advanced user management, enhanced security, and scalability options designed for large organizations.
In this guide, we'll be focusing on how to install and set up Mattermost on a Virtual Private Server (VPS) using Docker. This method of installation is popular because it simplifies deployment, and it's both convenient and manageable even for users with a modest technical background.
Free and Paid Alternatives to Mattermost
Understanding how Mattermost stacks up against its competitors is crucial when making a choice of collaboration software for your organization. We'll compare Mattermost to its free competitors like Rocket.Chat and Zulip, and to its paid competitors like Slack and Microsoft Teams, using a variety of criteria.
- Rocket.Chat: An open-source team chat platform enabling secure, real-time communication across web, desktop, or mobile. Available in a free community version, and a paid version with expanded features. Here's our guide to installing Rocket.Chat on a VPS.
- Zulip: An open-source chat application that merges the instant nature of real-time chat with the productivity benefits of threaded conversations. Free for small teams, with a Standard plan for larger organizations.
- Slack: A widely adopted collaboration hub, Slack brings together people, information, and tools to accomplish tasks. It offers a free version, with additional features accessible in the Standard and Plus paid plans.
- Microsoft Teams: As a component of the Microsoft 365 suite, Microsoft Teams serves as a hub for team collaboration, bundling chat, meetings, calling, and other collaborative tools. It is available in a free version, with enhanced features unlocked in Microsoft 365 subscriptions.
The comparison table below showcases key parameters to consider when choosing a chat service:
| Criteria | Mattermost | Rocket.Chat | Zulip | Slack | Microsoft Teams |
|---|---|---|---|---|---|
| Data Privacy | High: Full control over data, can be hosted on private server. | High: Full control over data, can be hosted on private server. | High: Full control over data, can be hosted on private server. | Medium: Stored on Slack's servers, subject to Slack's privacy policy. | Medium: Stored on Microsoft's servers, subject to Microsoft's privacy policy. |
| Cost | Variable: Free Team edition, Enterprise edition comes with a cost. | Variable: Free community version, paid versions for additional features. | Variable: Free for small teams, Standard plan for larger organizations. | Variable: Free with limited features, Standard and Plus plans for more features. | Variable: Part of Office 365 subscriptions, free version available. |
| Open-source | Yes | Yes | Yes | No | No |
| Self-hosted | Yes | Yes | Yes | No | No |
| API & Integrations | Yes | Yes | Yes | Yes | Yes |
This table aims to give a clear picture of how these platforms compare. Mattermost, Rocket.Chat, and Zulip are open-source and provide a high degree of data privacy since they can be self-hosted. Their cost varies depending on whether you opt for the free versions or decide to go with their enterprise-grade offerings that come at a price.
On the other hand, while Slack and Microsoft Teams offer a comprehensive set of features and integrations, they lack the ability to self-host and their source code is not openly available. These platforms might also be seen as having lesser data privacy, given data is stored on their servers and is subjected to their privacy policies. The right choice depends on your organization's specific needs, considering factors such as budget, required features, data privacy concerns, and the importance of being able to self-host.
Step-by-step Guide to Installing Mattermost Team Edition on Ubuntu VPS Using Docker
The minimum VPS requirements for installing and running Mattermost include:
- Memory (RAM): With at least 2 GB of memory, your server can efficiently handle concurrent operations and maintain optimal performance.
- Processor (CPU): A dual-core processor or better ensures smooth execution of tasks, and supports the needs of Mattermost server, especially if your team size is large.
- Storage Space: 10 GB of storage provides enough room to store data from your chats, including files and images shared within conversations. However, the more storage space your VPS has, the better it is for your Mattermost setup and its future maintenance.
- Operating System: A Linux-based operating system is recommended for its robustness, security features, and compatibility with Docker and Mattermost. We'll be using Ubuntu 22.04.2 LTS in this guide.
- Domain: You'll need a domain name that points to your VPS's IP address for this guide.
Why Use Docker?
Docker is an open-source platform that simplifies the process of building, deploying, and managing applications by using containerization. A Docker container is a lightweight, standalone package that includes everything an application needs to run: code, runtime, system tools, system libraries, and settings.
In the context of Mattermost, Docker plays a significant role. It eliminates the "it works on my machine" problem by creating a uniform environment for the application to run, regardless of the host operating system. This means that Mattermost can run the same way on your local development machine, a co-worker's machine, or a virtual private server.
Furthermore, Docker's containerization approach simplifies the process of scaling Mattermost. As your team grows, you can easily create additional Mattermost containers to accommodate the increased load.
Step 1: Update Your System
Before you start the installation process, it's a good idea to update your system packages to their latest versions. You can do this by running the following commands:
sudo apt-get update
sudo apt-get upgrade
Step 2: Install Docker
If you haven't already installed Docker and Docker Compose on your VPS, you can do so by running the following commands:
curl -fsSL https://get.docker.com | sudo sh
sudo apt-get install docker-compose
To verify that Docker is installed correctly, you can run this command:
docker -v
This should display the version of Docker that is installed on your system. It's also a good practice to add the current user to the Docker group to avoid having to use sudo with Docker commands. You can do this by running the following command:
sudo usermod -aG docker ${USER}
Run this command to ensure Docker starts automatically after VPS reboots:
sudo systemctl enable docker
Step3: Install Certbot Docker image and Generate SSL Certificate for Your Domain
Install Certbot Docker image:
docker run -it --rm -p 443:443 -p 80:80 --name certbot \
    -v "/etc/letsencrypt:/etc/letsencrypt" \
    -v "/var/lib/letsencrypt:/var/lib/letsencrypt" \
    certbot/certbot certonly
Here, you run the Certbot Docker image and expose ports 80 and 443 for the certificate validation process. Volumes are defined to persist the certificates and to make them available to other containers. During the Certbot installation, you will be asked for the domain name and some other information. After a successful verification, the SSL certificates will be installed in a `letsencrypt` directory on your Docker host.
Lastly, you'll want to set up a cron job or a similar task scheduling mechanism to periodically run Certbot and renew your certificates. Certbot certificates are valid for 90 days, and it's recommended to check for renewal every 60 days. Enter this command to edit the cron jobs running on your system (select nano as your preferred editor):
crontab -e
Then, scroll down to the end of the file and paste this:
0 12 * * * docker run --rm -v "/etc/letsencrypt:/etc/letsencrypt" -v "/var/lib/letsencrypt:/var/lib/letsencrypt" certbot/certbot renew --quiet && /usr/bin/docker-compose -f /etc/docker/docker-compose.yaml restart web
Save the file and quit the editor by pushing CTRL + X and then entering "y". This cron job would run at noon every day, attempt to renew any certificates that are nearing expiry, and then restart the Nginx container to apply the new certificates.
Step 3: Create Docker Compose file
In this step we will create a `docker-compose.yaml` file. This file will specify all the containers and configurations required to run Mattermost, PostgreSQL, and Nginx together. Open a docker-compose.yaml using nano editor:
nano /etc/docker/docker-compose.yaml
Paste the following contents to it and save the file by pushing CTRL + X and then entering "y":
version: '3'

services:
  db:
    image: postgres:13-alpine
    volumes:
      - postgres_data:/var/lib/postgresql/data
    environment:
      POSTGRES_USER: mmuser
      POSTGRES_PASSWORD: mysecretpassword
      POSTGRES_DB: mattermost
    restart: always

  app:
    image: mattermost/mattermost-team-edition
    volumes:
      - mattermost_data:/mattermost/data
    environment:
      MM_SQLSETTINGS_DATASOURCE: postgres://mmuser:mysecretpassword@db:5432/mattermost?sslmode=disable&connect_timeout=10
    depends_on:
      - db
    restart: always

  web:
    image: nginx:alpine
    volumes:
      - ./nginx.conf:/etc/nginx/nginx.conf
      - /etc/letsencrypt:/etc/letsencrypt:ro
    ports:
      - "80:80"
      - "443:443"
    depends_on:
      - app
    restart: always

volumes:
  mattermost_data:
  postgres_data:
Here's a breakdown of each part of the Docker Compose file:
- `version: '3'`: This specifies the version of the Docker Compose file format that you're using. This determines what features are available and how the file should be interpreted.
- `services:`: This defines the different services (or containers) that will be created and managed. In this case, `db`, `app`, and `web` are the services.
- `db:`: This is the name of the service that will run the PostgreSQL database.
- `image: postgres:13-alpine`: This tells Docker to use the `postgres:13-alpine` image from Docker Hub for this service. Alpine is a lightweight version of the Docker image.
- `volumes:`: This is where you define any storage volumes that should be associated with this service. In this case, the volume `postgres_data` is created and linked to `/var/lib/postgresql/data` in the container.
- `environment:`: This is where you define any environment variables that should be set in the container.
- `POSTGRES_USER: mmuser`: This sets the username for the PostgreSQL instance.
- `POSTGRES_PASSWORD: mysecretpassword`: This sets the password for the PostgreSQL instance. Replace `mysecretpassword` with a strong password of your choice.
- `POSTGRES_DB: mattermost`: This sets the database that will be created on startup if it doesn't already exist.
- `restart: always`: This tells Docker to always restart the container if it stops. If it is manually stopped, it is restarted only after Docker daemon restarts or the container itself is manually restarted.
- `app:`: This is the name of the service that will run the Mattermost application.
- `image: mattermost/mattermost-team-edition`: This tells Docker to use the `mattermost/mattermost-team-edition` image from Docker Hub for this service.
- `MM_SQLSETTINGS_DATASOURCE: postgres://mmuser:mysecretpassword@db:5432/mattermost?sslmode=disable&connect_timeout=10`: This sets the connection string for Mattermost to connect to the PostgreSQL database. Replace `mysecretpassword` with the password that you've set for your database user (POSTGRES_PASSWORD).
- `depends_on: - db`: This tells Docker that the `app` service depends on the `db` service. Docker will make sure `db` is started before `app`.
- `web:`: This is the name of the service that will run the Nginx server.
- `image: nginx:alpine`: This tells Docker to use the `nginx:alpine` image from Docker Hub for this service.
- `./nginx.conf:/etc/nginx/nginx.conf`: This tells Docker to mount the local file `nginx.conf` to `/etc/nginx/nginx.conf` in the container.
- ` /etc/letsencrypt:/etc/letsencrypt:ro`: This tells Docker to mount the local directory `/etc/letsencrypt` to `etc/letsencrypt:ro` in the container.
- `ports:`: This is where you define any network ports that should be associated with this service.
- `"80:80"` and `"443:443"`: This tells Docker to bind port 80 and 443 of the host to port 80 and 443 of the Nginx container respectively.
- `depends_on: - app`: This tells Docker that the `web` service depends on the `app` service. Docker will make sure `app` is started before `web`.
- `volumes:`: This is where you declare any Docker volumes that have been referenced in the `services:` section. These named volumes provide persistent data storage across container restarts or removals. They are managed by Docker and isolated from the host file system.
- `mattermost_data:` and `postgres_data:`: These declare Docker named volumes, which will be used to persist data for the Mattermost application and PostgreSQL database, respectively.
Step 4: Create Nginx Configuration file
Next, we will create the Nginx configuration file, `nginx.conf`, that will be used by our Nginx container. In the same directory as your `docker-compose.yaml` file, create `nginx.conf`:
nano /etc/docker/nginx.conf
with the following contents:
worker_processes 1;

events { worker_connections 1024; }

http {
    proxy_cache_path /var/cache/nginx levels=1:2 keys_zone=mattermost_cache:10m max_size=3g inactive=120m use_temp_path=off;

    server {
        listen 80;
        server_name yourdomain.com;
        location / {
            return 301 https://$host$request_uri;
        }
    }

        server {
        listen 443 ssl;
        server_name yourdomain.com;

        ssl_certificate /etc/letsencrypt/live/yourdomain.com/fullchain.pem;
        ssl_certificate_key /etc/letsencrypt/live/yourdomain.com/privkey.pem;

        location / {
            proxy_pass http://app:8065;
            proxy_set_header Host $host;
            proxy_set_header X-Real-IP $remote_addr;
            proxy_set_header X-Forwarded-For $proxy_add_x_forwarded_for;
            proxy_set_header X-Forwarded-Proto $scheme;
            proxy_set_header X-Frame-Options SAMEORIGIN;
            client_max_body_size 50M;
            proxy_buffers 256 16k;
            proxy_buffer_size 16k;
            proxy_read_timeout 600s;
            proxy_cache mattermost_cache;
            proxy_cache_revalidate on;
            proxy_cache_min_uses 2;
            proxy_cache_use_stale timeout;
            proxy_cache_lock on;
            add_header Strict-Transport-Security "max-age=31536000";
        }
    }
}
In this file, replace `yourdomain.com` with your actual domain name.
Then, make sure to apply permissions for Docker to access the nginx configuration file and the directory:
sudo chown ${USER}:docker /etc/docker/nginx.conf
sudo chmod 640 /etc/docker/nginx.conf
Step 5: Run Docker Compose
Navigate to the directory containing your `docker-compose.yaml` file and `nginx.conf` file:
cd /etc/docker/
Before running the "docker-compose up" command you can check the file for errors by running this command:
docker-compose config
If everything looks fine, run the following command to create and start all the containers:
docker-compose up -d
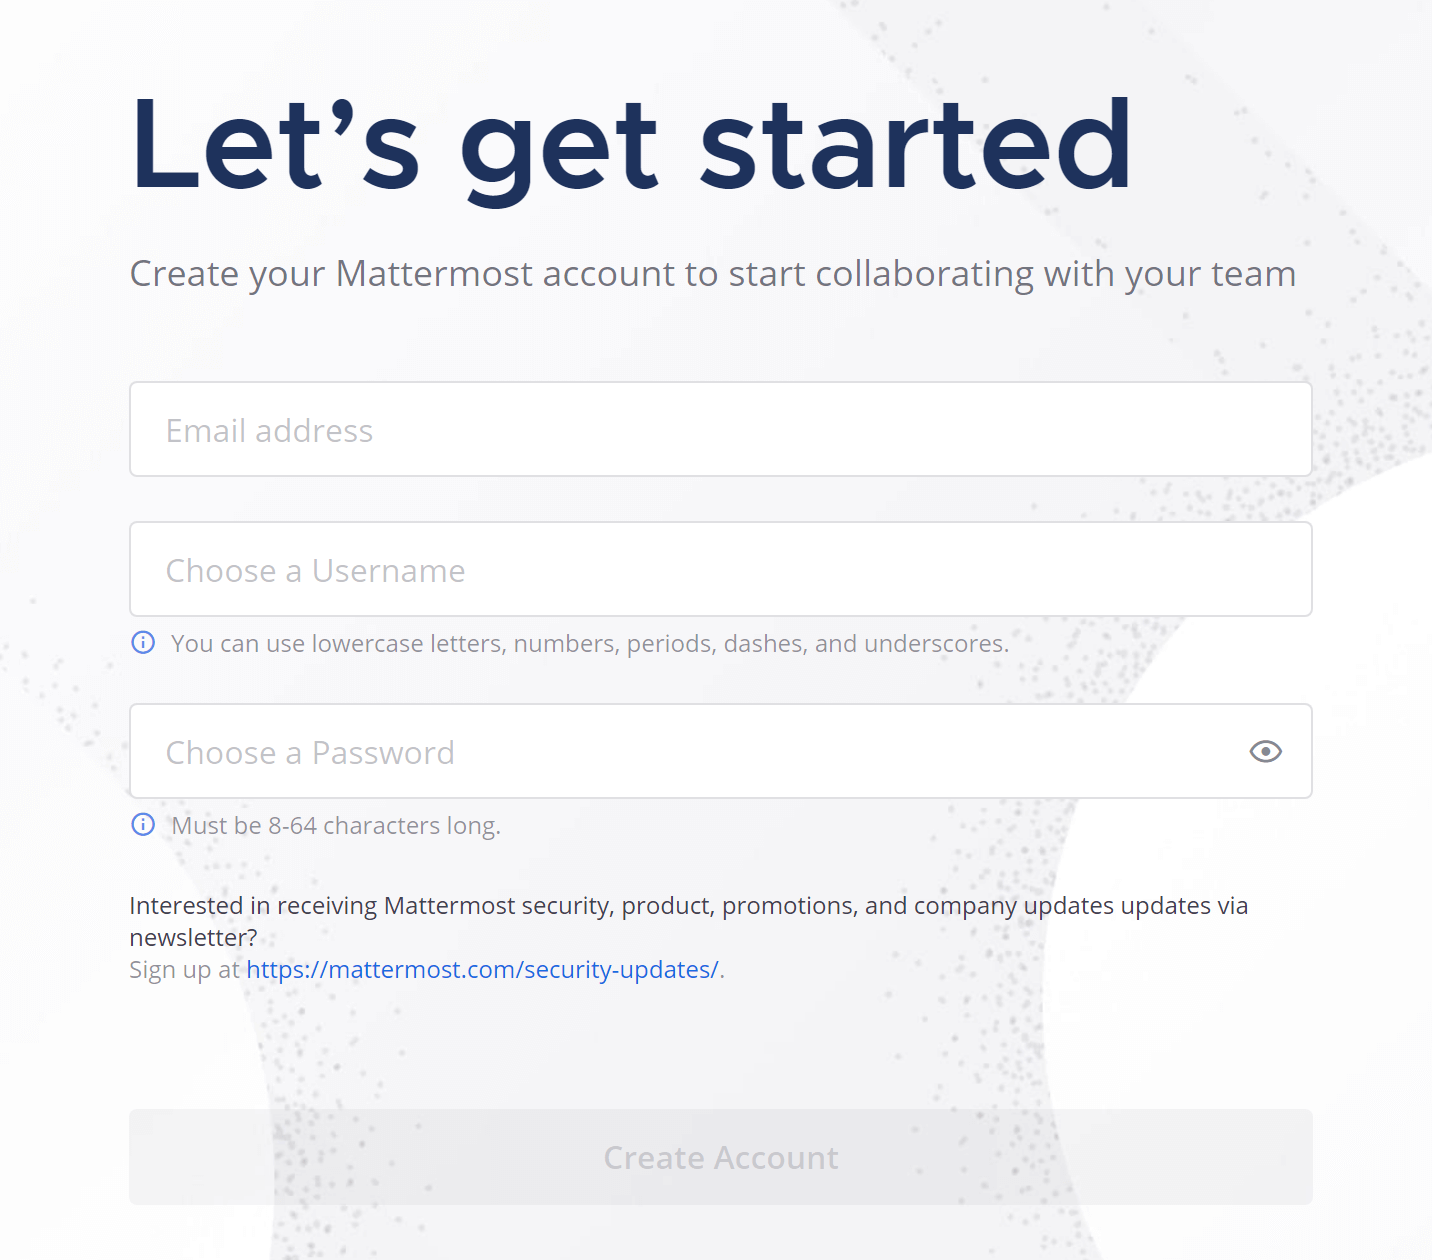
And that's it! Now you should have a working setup of Mattermost Team Edition with PostgreSQL and Nginx using Docker. Open a browser, navigate to your domain's URL and follow Mattermost's instructions to set up an account.
Regular Updates and Maintenance
It's important to keep your system packages updated to ensure you are running the latest versions, which often include essential bug fixes and security patches. You can do this by running the following commands:
sudo apt-get update
sudo apt-get upgrade
Docker Images Updates
Docker images for the services that you are running (Mattermost, PostgreSQL, and Nginx) should also be updated regularly to their latest versions. Here's how you can do it:
Pull the latest images from Docker Hub by using the `docker pull` command. For the services that you are running, you would run:
docker pull postgres:13-alpine
docker pull mattermost/mattermost-team-edition
docker pull nginx:alpine
docker pull certbot/certbot
After pulling the latest images, you'll want to recreate your containers with the updated images. First, navigate to the directory where your `docker-compose.yaml` file is located, then stop and remove the current containers, and finally, create and start the new ones:
cd /etc/docker/
docker-compose down
docker-compose up -d
Checking Container Logs
Sometimes, you might encounter issues with your Docker containers. A good starting point for debugging is to check the logs of your containers.For example, if you want to check the logs for the Mattermost docker containers, you would first use the following command to get the container IDs:
docker ps
Copy the ID of container that you want to inspect, and the run the following command:
docker logs 634f70c555ce
In this example '634f70c555ce' is the ID of the container, replace it with your container's ID.
Regular Backups
Ensure you have a backup strategy in place for your Docker volumes, especially `postgres_data` where all your Mattermost data resides. Regular backups can help protect your data from accidental loss.
One simple way of backing up your Docker volumes is to use the `docker cp` command, which allows you to copy files out of a Docker volume. However, for larger setups or more regular backups, you might want to consider a more advanced solution, such as using a Docker volume plugin that supports backups, or running a backup tool inside a Docker container.
You'll need locations on your host machine to store your backups. Let's create two backup directories:
mkdir ~/postgres_backup mkdir ~/mattermost_backup
This creates new directories named postgres_backup and mattermost_backup in your home directory.
Since the docker cp command works with containers and not directly with volumes, we will start temporary containers and mount your volumes to these containers, then copy data from there:
For postgres_data:
docker run --rm -v postgres_data:/var/lib/postgresql/data -v ~/postgres_backup:/backup alpine tar -czf /backup/postgres_backup.tar.gz -C /var/lib/postgresql/data .
For mattermost_data:
docker run --rm -v mattermost_data:/mattermost/data -v ~/mattermost_backup:/backup alpine tar -czf /backup/mattermost_backup.tar.gz -C /mattermost/data .
These commands will start a new alpine container, mount the respective volume to the container, and also mount the respective backup directory from your host to the container. Then it runs the tar command to create a compressed backup of the data in the volume, and stores it in the backup directory on your host. The "--rm" option makes sure the temporary container is removed after the command is executed.
Remember, this is a simple backup solution suitable for small setups. For larger or more mission-critical setups, consider a more advanced solution such as Docker volume plugins or backup tools. Additionally, it's important to regularly test your backups by restoring them in a safe, separate environment to ensure they are working properly and the data is recoverable.
Monitor Disk Usage
Over time, Docker images, containers, and volumes can take up a significant amount of storage space. Regularly check your system's disk usage and clean up unnecessary Docker objects. Docker provides a built-in command for this:
docker system df
This command will show you how much disk space Docker is using. If you need to free up some space, you can use the `docker system prune` command, which will remove all stopped containers, all unused networks, and all dangling images. Be careful with this command, though—it can potentially remove more than you want if you're not careful. Always double-check what you're removing with Docker to avoid accidentally deleting something important.
Congrats on Setting Mattermost on your VPS!
Choosing the right communication tool is vital in today's interconnected work environment, where effective collaboration can significantly influence a project's success. Mattermost stands out as an excellent choice due to its open-source nature, data privacy, self-hosted capabilities, and flexibility. It can adapt to meet the unique needs of different organizations. This guide has walked you through installing, setting up, and optimizing Mattermost on a VPS using Docker, providing you with a solid foundation to explore and adapt Mattermost to your team's needs. Embrace open-source, secure, and efficient collaboration with Mattermost!